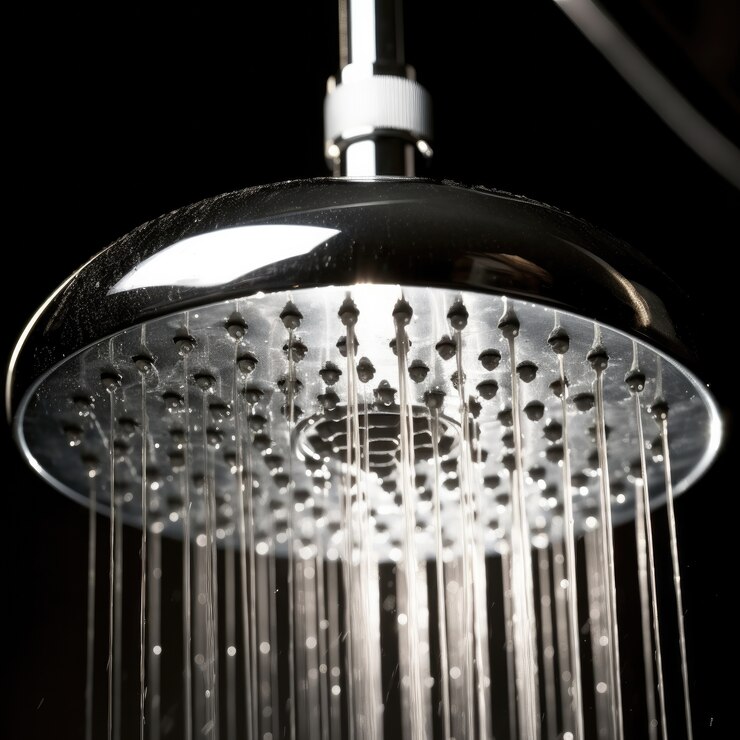
In the realm of bathroom fixtures, the shower head stands out as a crucial element that significantly influences your daily bathing experience. Among the myriad of materials used for shower heads, brass has gained popularity for its durability, aesthetics, and functionality. In this comprehensive guide, we delve into the world of brass shower heads, exploring their benefits, types, installation process, maintenance tips, and more. Whether you’re renovating your bathroom or simply seeking to upgrade your shower, understanding the nuances of brass shower heads can help you make an informed decision.
Why Choose Brass Shower Heads?
Durability: Brass, an alloy of copper and zinc, is renowned for its durability and resilience against corrosion. When properly maintained, brass shower heads can withstand the rigors of daily use and maintain their lustrous appearance for years to come.
Aesthetics: Brass exudes a timeless elegance that adds a touch of sophistication to any bathroom décor. Whether your style leans towards modern, traditional, or eclectic, brass shower heads complement a variety of design themes, enhancing the visual appeal of your shower space.
Functionality: Beyond its aesthetic appeal, brass shower heads offer excellent functionality. They provide consistent water flow, allowing for a satisfying shower experience that invigorates and rejuvenates.
Types of Brass Shower Heads
Fixed Shower Heads: These are mounted directly to the shower arm or ceiling, offering a stationary showering experience. Fixed brass shower heads come in various designs, including rain shower heads, waterfall shower heads, and traditional round or square models.
Handheld Shower Heads: Handheld brass shower heads feature a flexible hose that allows for greater maneuverability and targeted water flow. They are ideal for rinsing hard-to-reach areas, bathing children or pets, and cleaning the shower enclosure.
Combo Shower Heads: Combining the features of fixed and handheld shower heads, combo brass shower heads offer versatility and convenience. Users can switch between the fixed and handheld modes to suit their preferences and showering needs.
Installation Process
Gather Necessary Tools and Materials: Before installing a brass shower head, ensure you have the required tools and materials on hand. These may include an adjustable wrench, plumber’s tape, pipe wrench, and silicone sealant.
Turn Off Water Supply: Shut off the water supply to the shower to prevent any leaks or spills during the installation process. You can usually do this by turning the shut-off valve located near the shower or by shutting off the main water supply to the house.
Remove Existing Shower Head: If you’re replacing an old shower head, use an adjustable wrench to loosen and remove it from the shower arm. Clean the threads of the shower arm to ensure a smooth installation process.
Apply Plumber’s Tape: Wrap plumber’s tape clockwise around the threads of the shower arm to create a tight seal. This helps prevent leaks and ensures a secure connection between the shower head and the arm.
Install the Brass Shower Head: Screw the brass shower head onto the shower arm in a clockwise direction, ensuring a snug fit. Use a wrench to tighten it further, but be careful not to over-tighten, as this could damage the threads.
Test for Leaks: Once the brass shower head is securely installed, turn on the water supply and test for any leaks or drips. If necessary, use additional plumber’s tape or sealant to address any leaks.
Final Adjustments: Adjust the angle and position of the brass shower head to ensure optimal water flow and coverage. Tighten or loosen the swivel joint as needed to achieve the desired angle.
Seal with Silicone: Apply a bead of silicone sealant around the base of the shower head to create a watertight seal and prevent water damage to the surrounding walls or tiles.
Maintenance Tips
Regular Cleaning: To maintain the luster of your brass shower head, clean it regularly with a mild soap solution and a soft cloth. Avoid abrasive cleaners or scouring pads, as they can scratch the surface of the brass.
Remove Mineral Deposits: Over time, mineral deposits from hard water can accumulate on the surface of the brass shower head, affecting water flow and pressure. To remove these deposits, soak the shower head in a solution of equal parts water and vinegar for several hours, then scrub gently with a brush and rinse thoroughly.
Inspect for Leaks: Periodically inspect the connections between the brass shower head and the shower arm for any signs of leaks or corrosion. Tighten any loose connections and replace worn-out components as needed to prevent water damage.
Check for Clogs: If you notice a decrease in water flow or uneven spray patterns, it may indicate a clog in the shower head. Remove the shower head and soak it in a vinegar solution to dissolve any mineral deposits or debris. Use a small brush or toothpick to dislodge stubborn clogs, then rinse the shower head thoroughly before reinstalling it.
Protect Against Corrosion: To protect the brass finish of your shower head from tarnishing or corrosion, avoid using harsh chemical cleaners or abrasive materials. Instead, opt for gentle cleaning solutions and soft cloths to preserve the beauty and integrity of the brass.
Conclusion
Brass shower heads offer a perfect blend of durability, aesthetics, and functionality, making them an excellent choice for any bathroom upgrade or renovation project. Whether you prefer the classic elegance of a fixed brass shower head or the versatility of a combo model, investing in a high-quality brass fixture can enhance your shower experience and elevate the overall look of your bathroom. By understanding the different types of brass shower heads, the installation process, and proper maintenance techniques, you can enjoy years of luxurious showers while preserving the beauty and performance of your brass fixture.

